Storage and Maintenance for your clipper
With most horses having had their last clip for the season, it will be time to check all clipping equipment and blades before putting away for the summer period.
We have created a check list to follow to keep your clipping equipment in good order and ready again for using later this year.
- Keep all clipping equipment in a warm dry environment and not outside in a tack room, lorry locker or store area. This will ensure that the cold and damp environment doesn’t seep into the inner parts of the clippers which can then cause significant problems and expense.
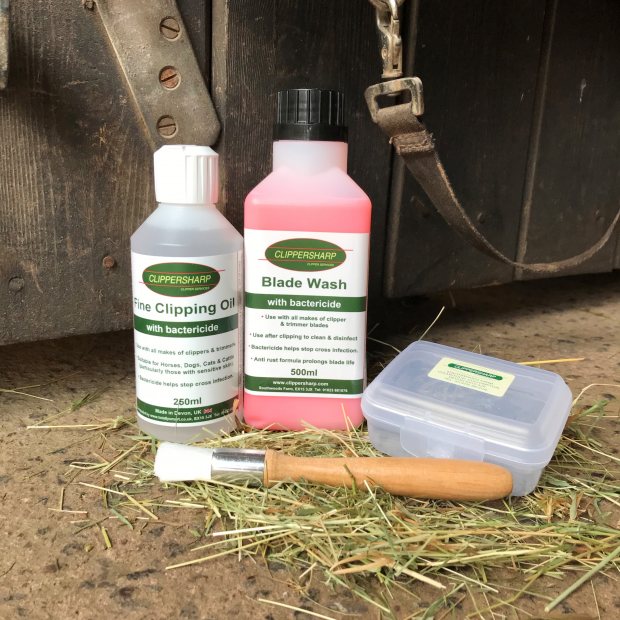
- After clipping, remove blades and tension set, brush off excess hair and soak in blade wash. This will ensure that the blades are thoroughly cleaned and disinfected to stop cross infection.
- After using blade wash, dry thoroughly and re-oil using clipper oil liberally apply on the sides that touch each other. Wrap up tightly in a plastic covering and seal before putting into a clipper blade box or similar watertight plastic sandwich box or tin. Keep the tension set in the same box.
- Clipper blade sharpening – send in any blades that may need sharpening. It is always best to get this done at the end of the season, ahead of the busy times.
- Check the clipper over, starting with the head, brush all areas where the blades have been, a clipper brush or new hoof oil brush will do the trick, and blow out with an air compressor or suck out with a vacuum cleaner.
- Cleaning the air vent is something that should be done after each clip and before being put away for any length of time. All electric clippers will have a removable vent on either the side or towards the back of the handpiece. Remove carefully, and again brush out any loose hairs that can be seen inside the machine. Wash the vent in warm soapy water and dry thoroughly before re-applying. If grease and hair is allowed to build up, it may cause the clipper to overheat.
- Changing the tension set. Most clippers have a tension set which consists of a tension nut, screw and spring. As part of a service, this is something that we will replace, and we suggest replacing this after each season, if the clipper has been used on a regular basis.
- Check for cable breaks, and where the cable connects into the machine. If you have heard the motor running intermittently or when the clipper is held in a different position, this may indicate a cable connection problem.
- Comb peg and pins. These are exclusive to Lister clippers and can be found on the underside of the head. Over time the plastic can become worn which will allow the bottom blade to move laterally, consequently affecting the quality of a clip.
Here's how to change the Comb Pegs and Pins on your machine:
- Remove old pegs and pins using pliers.
- Insert new pegs, using a small hammer to push into place.
- Insert the pin in the hole in the middle of the peg.
If you have had operating issues, we do advise contacting a clipper specialist. With any service that is carried out by us, we would strip down the clipper, clean out, and check for any wear and faults, as well as finish by putting it through the electrical test (PAT test). This ensures that it has been tested and is safe to use. We suggest having a machine serviced on a regular basis, and at the end of each season is a good time, to ensure that they are checked over, with any problems fixed before they are needed at the start of the next clipping season.
By ensuring that clipping equipment is well maintained, it will make the job safer and easier. A little forward planning is all that is required!
Check out our Learning Portal for more information and tips.
- 27th February 2020